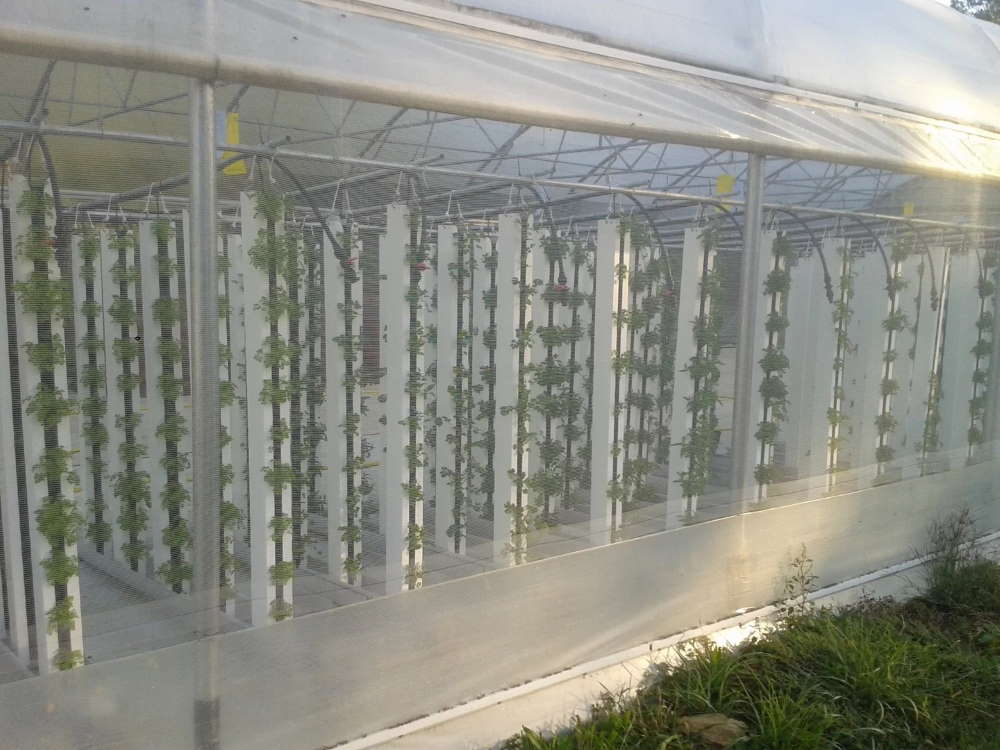
We’ve been told over the years that what we’re doing doesn’t work, that poly can’t handle the windload, the snowload or the abuse that Wyoming winters tend to dish out. Well, I want to use this post to dispel those rumors.
A well inflated double layer greenhouse with well secured wiggle wire channel and wiggle wire can stand up to some pretty serious abuse.
How serious you ask? Well, our houses have repeatedly borne 60+ mph winds for days on end as well as heavy snowloads.
Inflated poly has some “give” to it, allowing it to absorb much of the force of the wind, and what the poly can’t take, your frame absorbs. This can have a serious lifting effect on the covering and the frame, so securing both the wiggle wire channel (we screw it down every 12-18” minimum) is very important. It’s also important to have your framework anchored to the ground very well. These structures have the ability to act like a giant kite; so don’t overlook anything when it comes to securing the poly or the frame.
Wiggle Wire: The Facts
Wiggle wire channel runs along the base of your hoop house. Wiggle wire and channel is relatively inexpensive. Channel is typically aluminum and the wire is typically steel. I recommend you purchase PVC coated steel. It will last you longer and is much easier on your poly, resulting in significantly longer covering life and fewer holes to patch.
The channel is first secured to the baseboard with screws- I recommend self-tapping decking type screws. Then both layers of poly are placed over the channel. The wiggle-wire spring is then forced into the channel with a wiggling, up and down motion. Once it’s in, the wire holds the plastic tightly against the back, bottom and top of the channel, making it practically airtight.
The channel can be screwed into baseboards, along the endwalls of the frame, and anywhere else that needs plastic secured.
Inflating the Double Layer Poly
Once the covering is secured, it’s time to inflate it.
I recommend using a blower kit sold by your greenhouse supplier. To put the blower together, you just wire it up, attach a hose and thread it into the seal that you place on the inner layer of the covering. Blower kits are available from your greenhouse supplier.
You’ll be required to cut a hole in the covering to do this. Most folks draw their inflation air from outside to avoid condensation. We tend to use indoor air and then drain the condensation over the summer. I recommend using outside air for most inflation.
Most blowers draw hardly any electricity. In fact, when you put your hand against them, you have a hard time figuring out if they’re drawing any air at all. This is nice because it makes them very energy efficient to operate.
If you are considering a greenhouse and are primarily concerned about cost, then poly is the way to go. Check out some of our other videos on using poly films.
The channel is first secured to the baseboard with screws- I recommend self-tapping decking type screws. Then both layers of poly are placed over the channel. The wiggle-wire spring is then forced into the channel with a wiggling, up and down motion. Once it’s in, the wire holds the plastic tightly against the back, bottom and top of the channel, making it practically airtight.
The channel can be screwed into baseboards, along the endwalls of the frame, and anywhere else that needs plastic secured.


