 Growing seeds for your classroom is easy!

You may be thinking, Whoa, whoa, whoa, seed starting?! I didn’t know I had to have a green-thumb to get my Spring up and running.
The good news is, you don’t. Seed starting is simple and easy, and can be done by just about anyone with the right resources.
Today, we are going to provide you with the resources to get your seeds started and to keep them growing.
Step 1: Gather your materials.
At this point, you do not need to have your Spring set up or running yet (although it wouldn’t hurt to get it ready in advance). You do need to set up the mini greenhouse that came with your kit. This means your pellet trays and short light rod.
Start by purchasing seeds from a local nursery, home-improvement store, or from an online retailer. We recommend Baker Creek Heirloom Seeds. They are awesome, and have supplied us with exciting varieties and good germination rates. (For more information, check out our blog on Baker Creek Seeds.)
We also strongly suggest purchasing pelleted seeds for crops with small seeds, like most herbs and greens. Squashes and such have naturally larger seeds that are easy to handle. Pelleted seeds are a single seed rolled in clay making them larger and easier to handle, which keeps you from accidentally planting multiple seeds in one cell. This coating also reduces the possibility of disease. Additionally, they reduce waste, which saves you time and energy. Pelleted seeds are worth the few extra cents, especially for the beginning grower.
You will also need water for hydrating your peat pellets.
Once you have your seeds, you need to gather your other materials, the remaining of which should mostly be included in your classroom package. Retrieve the seed starting pellets (condensed peat pellets) tray, your light bar, the accompanying hardware, the light stands, and finally your own screw driver and water pitcher.
Step 2: Planting your seeds
As mentioned before, if you are inexperienced, this step will be much easier if you are using pelleted seeds. Only plant one seed in each cell. If you do plant more than one, let the seeds germinate and then thin the seedlings (pinch the extra seedling off) so that there is only one seedling per cell.
![]() Quick tip: Before planting your seeds, check your seed packets for information on planting depth. The depth will depend on the plant; greens and herbs usually need to be planted less than under the surface.
Quick tip: Before planting your seeds, check your seed packets for information on planting depth. The depth will depend on the plant; greens and herbs usually need to be planted less than under the surface.
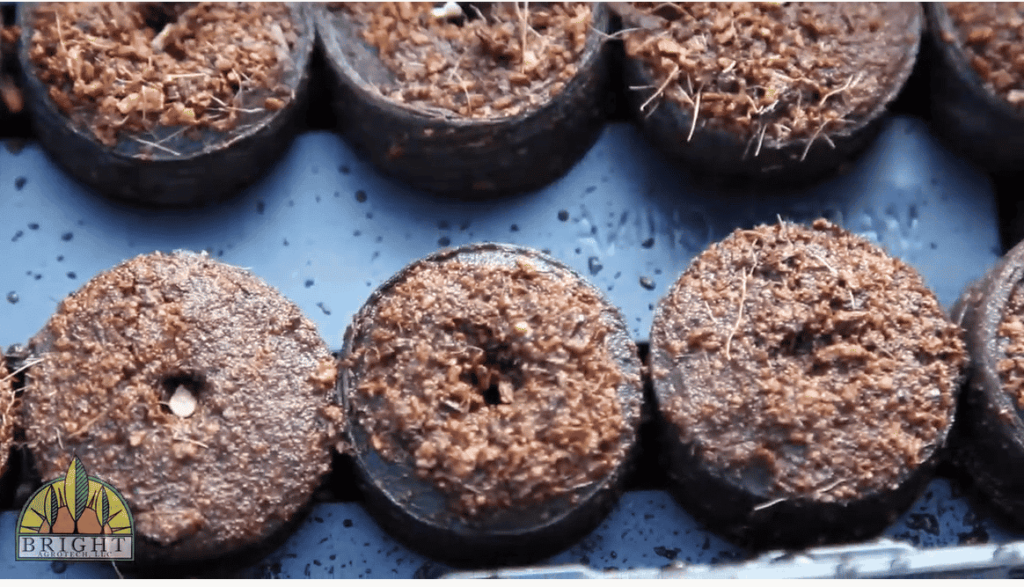
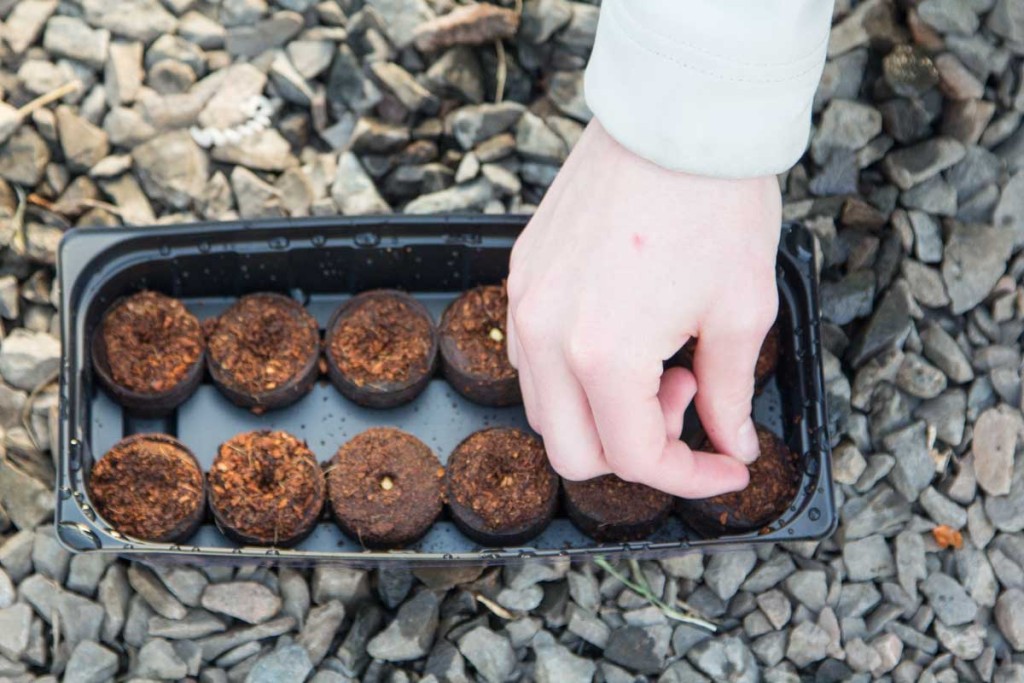
Start with the seed starting trays, which already have soil pellets in place. These are for your first batch of seeds. The additional soil pellets are for your second planting. Place your tray on a flat surface or wherever you intend to keep it. Make sure the sides of the peat pellets with the seed indent are facing up. Fill the tray about a quarter inch up with water. Wait about two minutes for the soil pellets to absorb the water and fully expand.

Once the pellets are ready, pick up one seed, pinch it lightly between two fingers and place it in the centered indent of the peat pellet in the first cell of the tray. Press it gently into the soil to the recommended depth. Then, lightly smooth and pat a dusting of soil over the seed.
And just like that, you have started your first seed. Congratulations! It really is that easy.
Now, just repeat the process for the remaining peat pellets in the tray. The fun isnt over yet! Once you have your seeds planted, you have to build your seed station and assume the responsibility of nurturing the plants.
Step 3: Build your mini seed station.
Now that you have gathered your materials and planted your seeds, it is time to build your very own classroom seed station. Imagine the fun youll have telling other teachers you have a seed station in your classroom!
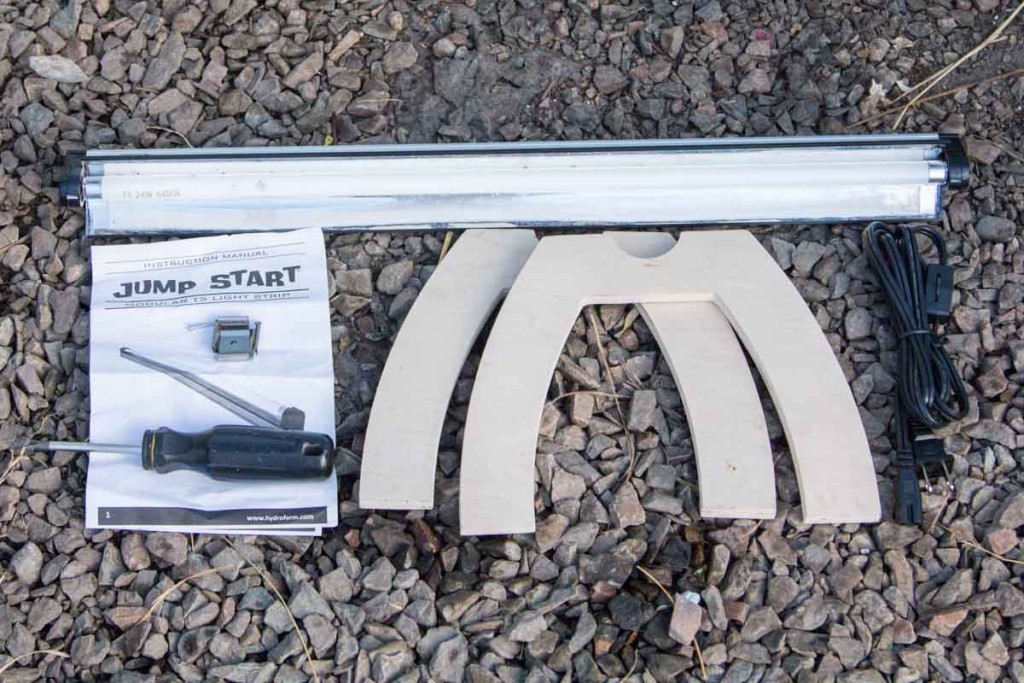
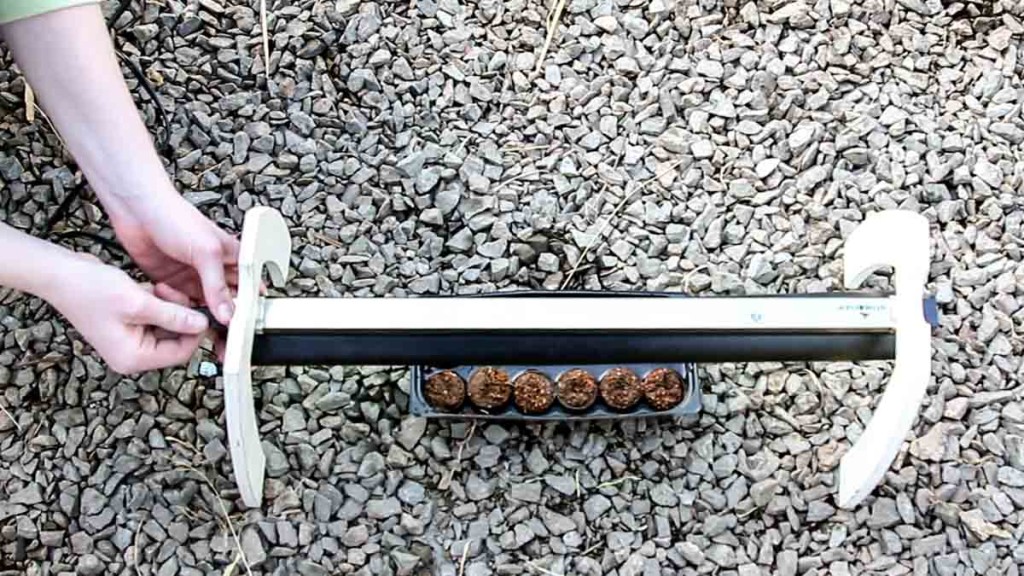
Retrieve the two light stands, the accompanying hardware, your screw driver, and your light bar (make sure you are using the ones meant for the greenhouse, not the Spring System).
Place a screw through one of the metal brackets with the clip edges facing the head of the screw. Then, use your screw driver to carefully screw the metal bracket and screw into the center of the bottom arch of the stand. Make sure it is screwed down tight and that the bracket is turned so that it is flush with the wood, not extending past it (reference the video at the end). Repeat this process for the other stand.
Once your stands are assembled with brackets, carefully clip them on to the back of either side of the light bar so that they are evenly spaced. Set your light kit down onto your flat surface, and place your planted seed tray beneath the light. And that’s it!
Now that your seed station is set up, it is time to nurture your seeds.
Step 4: Nurture Your Seeds Until They Become Transplantable Seedlings
Here are some general rules of green-thumbing which will helps your seedlings grow big and strong:
- The light stands are made specifically to keep the light at an appropriate distance from the tray. Place the stands on the same surface as the tray; don’t elevate the light stand artificially.
- Let the peat pellets dry a bit before watering again. The pellets should feel damp when you touch them, but not sopping.
- Water with to inch of water on bottom of the tray. The seedlings will die if they do not have enough water, or if they have too much.
- No additional nutrients are needed.
- If you’re classroom is cool, or if the surface that the tray is resting on is especially cold, use a garden heating pad set on low to keep the plants at a good temperature. Only do this if necessary, or it will dry out the soil and kill the seedlings.
See, it’s not so hard after all! Seed starting is really just a few simple steps.
If you follow these steps, you will be well on your way to planting your ZipGrow tower.
Next check out our blog post on How and When To Transplant Your Seedlings.
Need more info on starting a classroom garden?
See how other educators are organizing their curriculum and gardens, and learn how to get started: